
Linux web server installation on Linux cent OS
All most all flavor of Linux Operating System Provides web service by the name of apache or httpd for our own web server hosting.
Here you may follow few easy steps to install and configure web server on OS cent 6.
1. su – (after entering password it provides root access)
#yum install httpd (run this command on root shell)
after installation of httpd package check the status
2. #service httpd status
If its not showing running we can start its using this command
3. #service httpd start
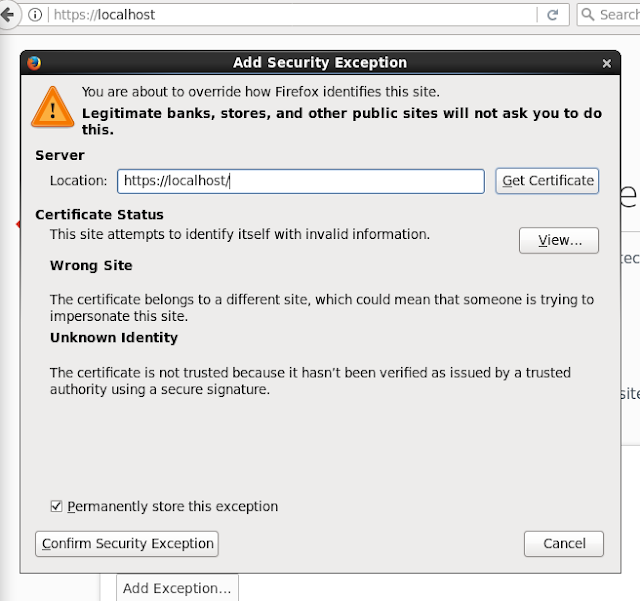
after starting the service we can check on web browser just open any web browser and in address bar type https://localhost and press enter its should show page like this :-

now a simple and normal insecure web server is ready its works on port 80 if you wish to have secure web server we need some more configurations, secure web server works on port 433.
Main web server configuration file is “httpd.conf” and path is
# /etc/httpd/conf/
by default server name and domain name is this
#ServerName www.example.com:80
we can change according to our registered name and domain.
default document path of web server is this
#DocumentRoot “/var/www/html”
we can change if required else, we can just copy our web pages and other prepared contents under this default path.
#/var/www/html/
To start web server automatically on every reboot we can run this command :-
#chkconfig httpd on
Secure web server SSL/TLS
As I mention earlier that the above web server works on insecure mode so now let’s understand how to install and configure secure SSL/TLS based web server.
SSL(Secure Socket Layer) and TLS (Transport Layer Security) are web protocols that keep data encrypted, protected, secure between server and client communication.
apache required SSL Module to support encryption, Install using this command
# yum install mod_ssl
next step is to generate SSL certificate this certificate store some information about your website and with the help of key file server handle encrypted data.
step to store SSL certificate and key lets create a folder.
# mkdir /etc/ssl/private
To make this file is only accessible to server root only.
# chmod 700 /etc/ssl/private
Now here is the command to generate SSL certificate and key
# openssl req -x509 -nodes -days 365 -newkey rsa:2048 -keyout /etc/httpd/ssl/server.key -out /etc/httpd/ssl/server.crt
It will ask you to provide some basic info about your Country, Province, City, org, E-mail etc.
now to configure apache SSL configuration
open this file :-
# gedit /etc/httpd/conf.d/ssl.conf
# General setup for the virtual host, inherited from global configuration
DocumentRoot “/var/www/html”
ServerName www.example.com:443
SSLENGINE ON
Uncomment these lines and add the path of generated SSL certificate and key file.
SSLCertificateFile /etc/httpd/ssl/server.crtSSLCertificateKeyFile /etc/httpd/ssl/server.key
Enable firewall port 443
Now restart web server
#Service httpd restart
Access your server now https://localhost or website name.
now this SSL enabled web server but its will be also available on unsecured mode port 80 so if you want to run it always on secure mode port 433 batter to redirect on secured mode.
create a conf file “gedit /etc/httpd/conf.d/redirect.conf” and paste this replace your server address here :-
<VirtualHost *:80>
ServerName www.example.com
Redirect “/” “https://www.example.com/”
</VirtualHost>
# /etc/init.d/httpd restart